
Christmas Planner Ideas: How to Make a Holiday Binder With Free Printables

Christmas plans have a habit of ending up everywhere: a gift idea in your phone, a grocery list on the fridge, an invitation in your inbox and a receipt you definitely put somewhere safe.
A Christmas planner binder gives all that information a home. You can open it to check what you have bought, hand someone the menu plan or find the date of the school concert without searching through several different places.
These Christmas planner ideas show you how to make a simple holiday binder using my free 38-page printable planner. You can choose just the sheets you need, arrange them into five sections and start filling them in with the examples below.
This post may contain affiliate links.Privacy Policy. Follow us on PINTEREST
The signup form for the complete free PDF is at the bottom of this post. You do not need to print all 38 pages to make your binder.

What you need to make a Christmas planner binder
- A three-ring binder that fits US Letter paper. Start with one you already own.
- Five dividers, or plain paper with sticky tabs.
- A printer and paper, or access to a local printing service.
- A hole punch and a pen.
- Optional: a pocket divider for receipts and a few sheet protectors.
Choose a binder you can leave within reach and open comfortably on your table. An oversized binder is awkward to carry around; a small one packed too tightly makes it difficult to turn the pages.
Keep the pages you write on most often hole-punched and easy to access. Sheet protectors are useful for reference pages, but pulling a gift tracker out of a sleeve every time you buy something soon becomes tiresome.
1. Choose your starter pages
Begin with one calendar, one weekly planner, the master to-do list, budget tracker and gift planner. These five sheets give you somewhere to record dates, decide what to do next and keep track of spending.
Add the dinner menu, guest list and potluck planner if you are hosting. If you are visiting family instead, you might only need a note sheet for travel arrangements and what you have agreed to bring.
Print extra copies when you have a use for them. Three different weekly layouts are included in the bundle; choose your favorite rather than trying to maintain all three.
You can see every sheet in the full preview of the free 38-page Christmas planner. This tutorial focuses on arranging and using your chosen pages.
2. Arrange your binder into five sections
Label the dividers before you start filing. Put the calendar and current weekly plan at the front, where you can find them without opening every section.
Plans and dates
File your calendar, weekly planning pages, daily planner and master to-do list here. Add invitations or write their details on a note sheet: date, time, location and anything you need to bring.
Keep confirmed commitments on the calendar. Put possibilities, such as a lights outing or a cookie-baking afternoon, on your bucket list until you decide when to do them.
Budget and gifts
Use this section for the budget tracker, savings tracker, gift list and purchase tracker. Add the stocking stuffer sheets if small gifts tend to be the purchases you forget to record.
Put receipts in a pocket behind the trackers. For online orders, write down the order number or keep the confirmation email in a dedicated folder. You do not need to print every email.
Food and hosting
Group the guest list, party planner, potluck planner, kitchen inventory, menu, recipes and grocery lists. Keep one set of sheets together for each gathering, so Christmas Eve snacks do not get mixed up with Christmas Day dinner.
A paper clip is enough to hold each gathering’s pages together. Write its name at the top of the first sheet, along with the date and expected guest count.
Home and decorations
File the decorations inventory, inspiration sheet, decor shopping planner, housework tasks and chore chart here. Check the inventory before adding decorations to your shopping list.
Keep household tasks specific. “Clean the house” is hard to share; “clear the guest bed and put on fresh sheets” tells someone exactly what needs doing.
Family activities
Use the bucket list, movie planner and any notes for activities your household wants to do. Include the Christmas Eve and Christmas Day planners here if they mainly cover family plans; keep them with food and hosting if you use them to organize a gathering.
Choose a few things everyone is looking forward to. For something to play together, browse our Christmas games and activities, then add your favorites to the family activities section. Leave room for an evening at home and for plans to change.
3. Fill in your budget tracker before you shop
Decide what you can comfortably spend, then divide that amount between your holiday expenses. Include wrapping supplies, postage and the smaller gifts that are easy to overlook.
Illustrative example: a household working with a $600 Christmas budget might allocate $300 to gifts, $150 to food, $40 to decorations, $30 to wrapping and postage, $30 to activities and $50 to unplanned expenses. These amounts are an example, not a recommended budget.
Record purchases against the relevant category as you make them. If a $30 gift also costs $6 to ship, record $36 so your remaining budget reflects what you actually spent.
When a category runs short, decide what to reduce before making another purchase. Moving money from decorations to gifts is a choice you can make consciously, rather than discovering the overspend later.
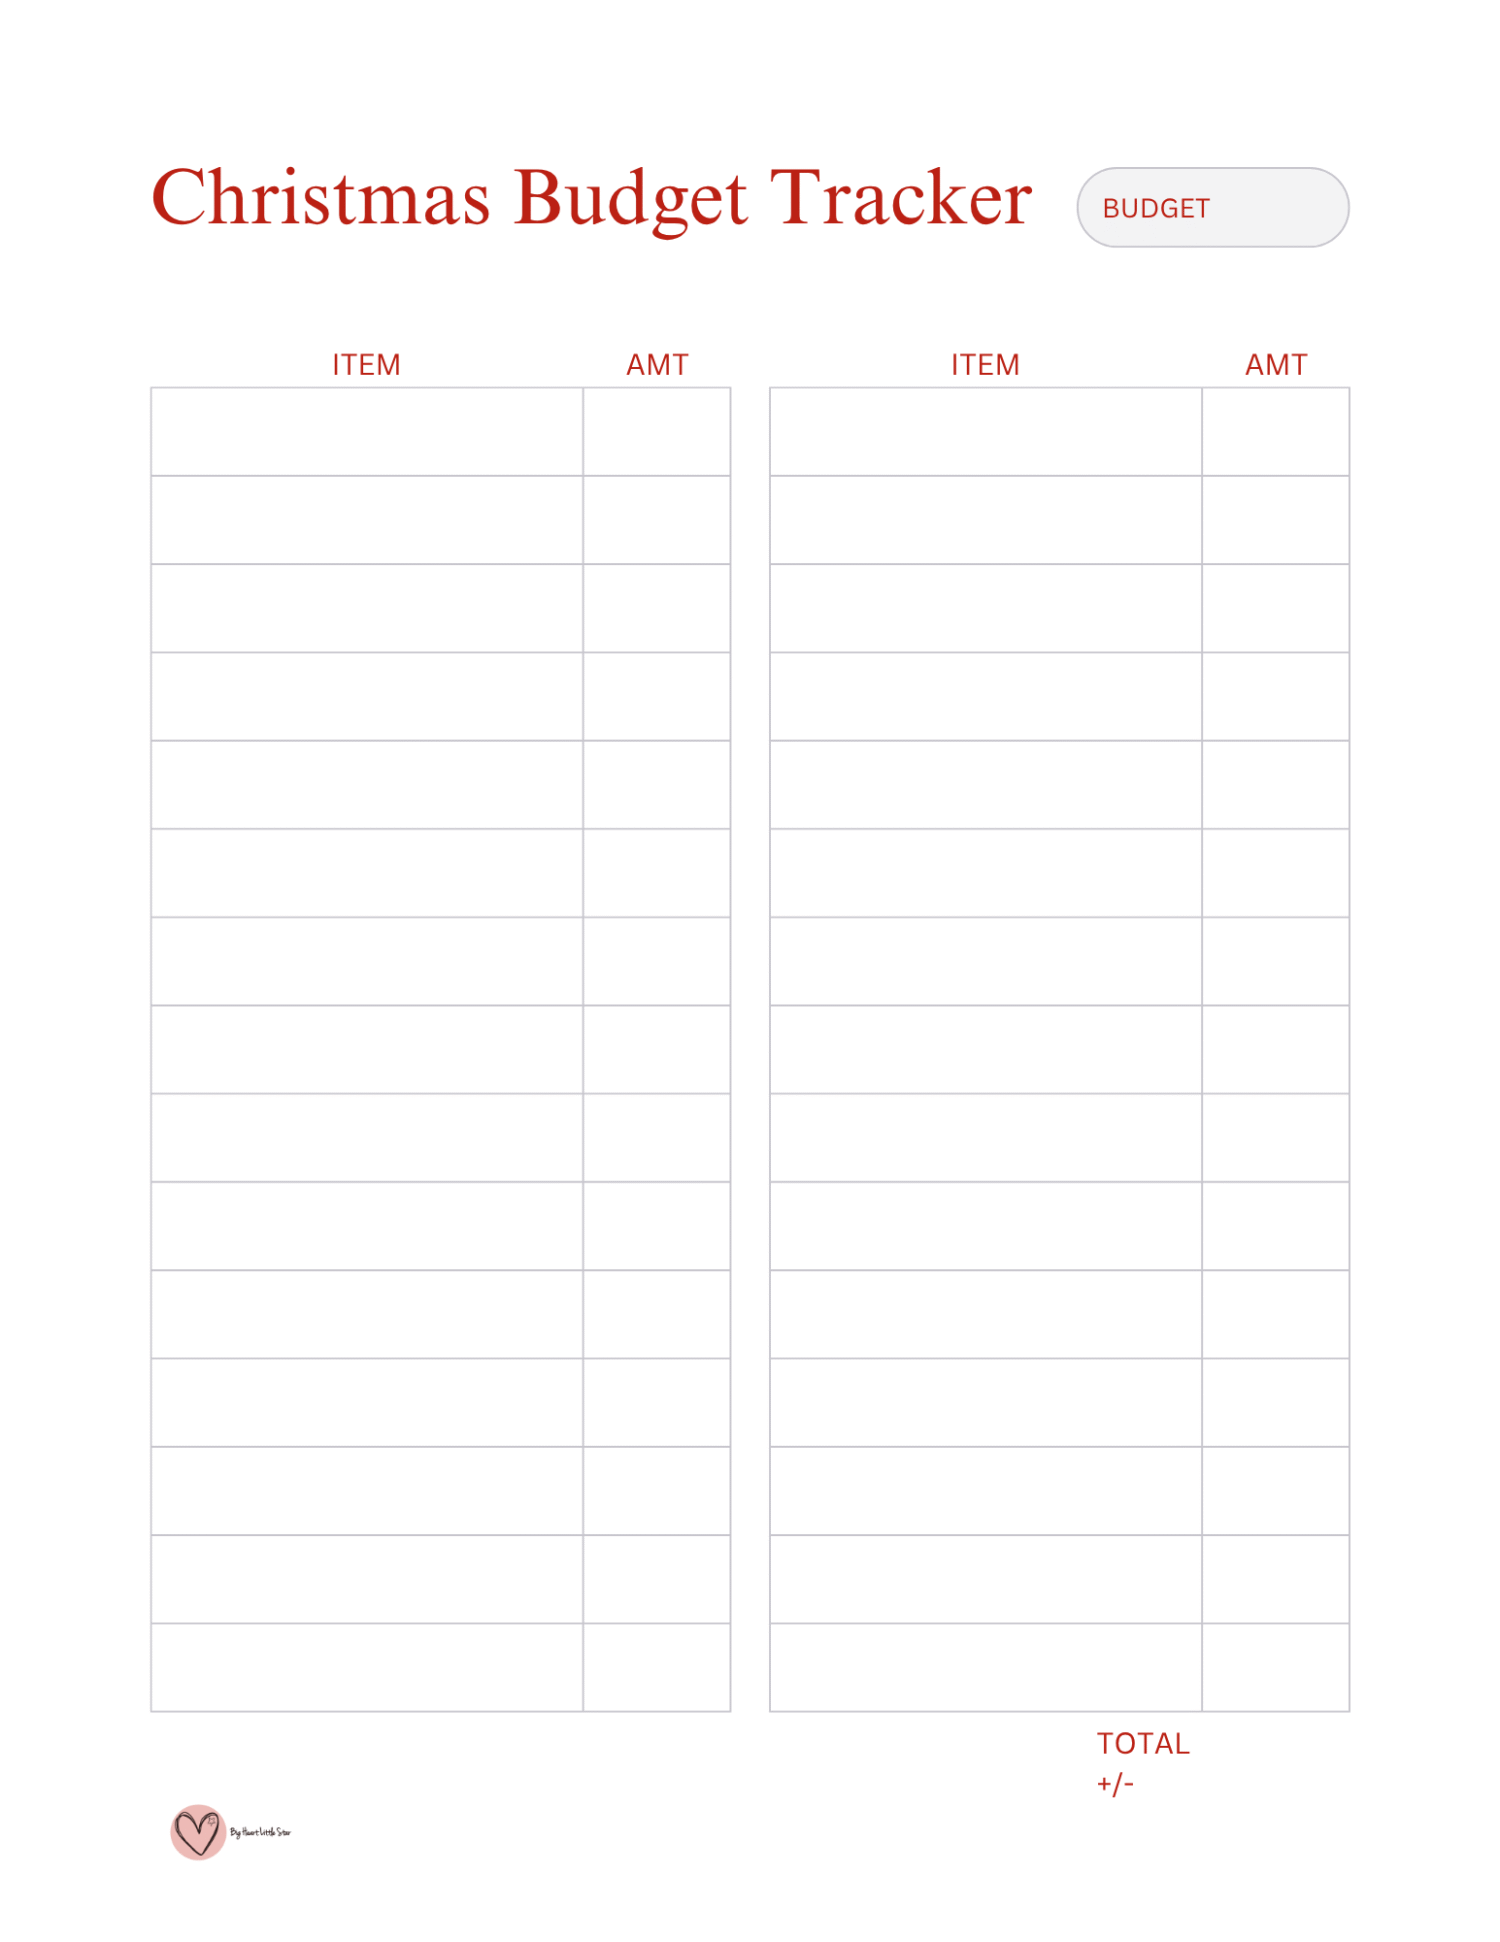
For help deciding what belongs in your budget, see my Christmas budget planning guide.
4. Give every gift purchase a clear record
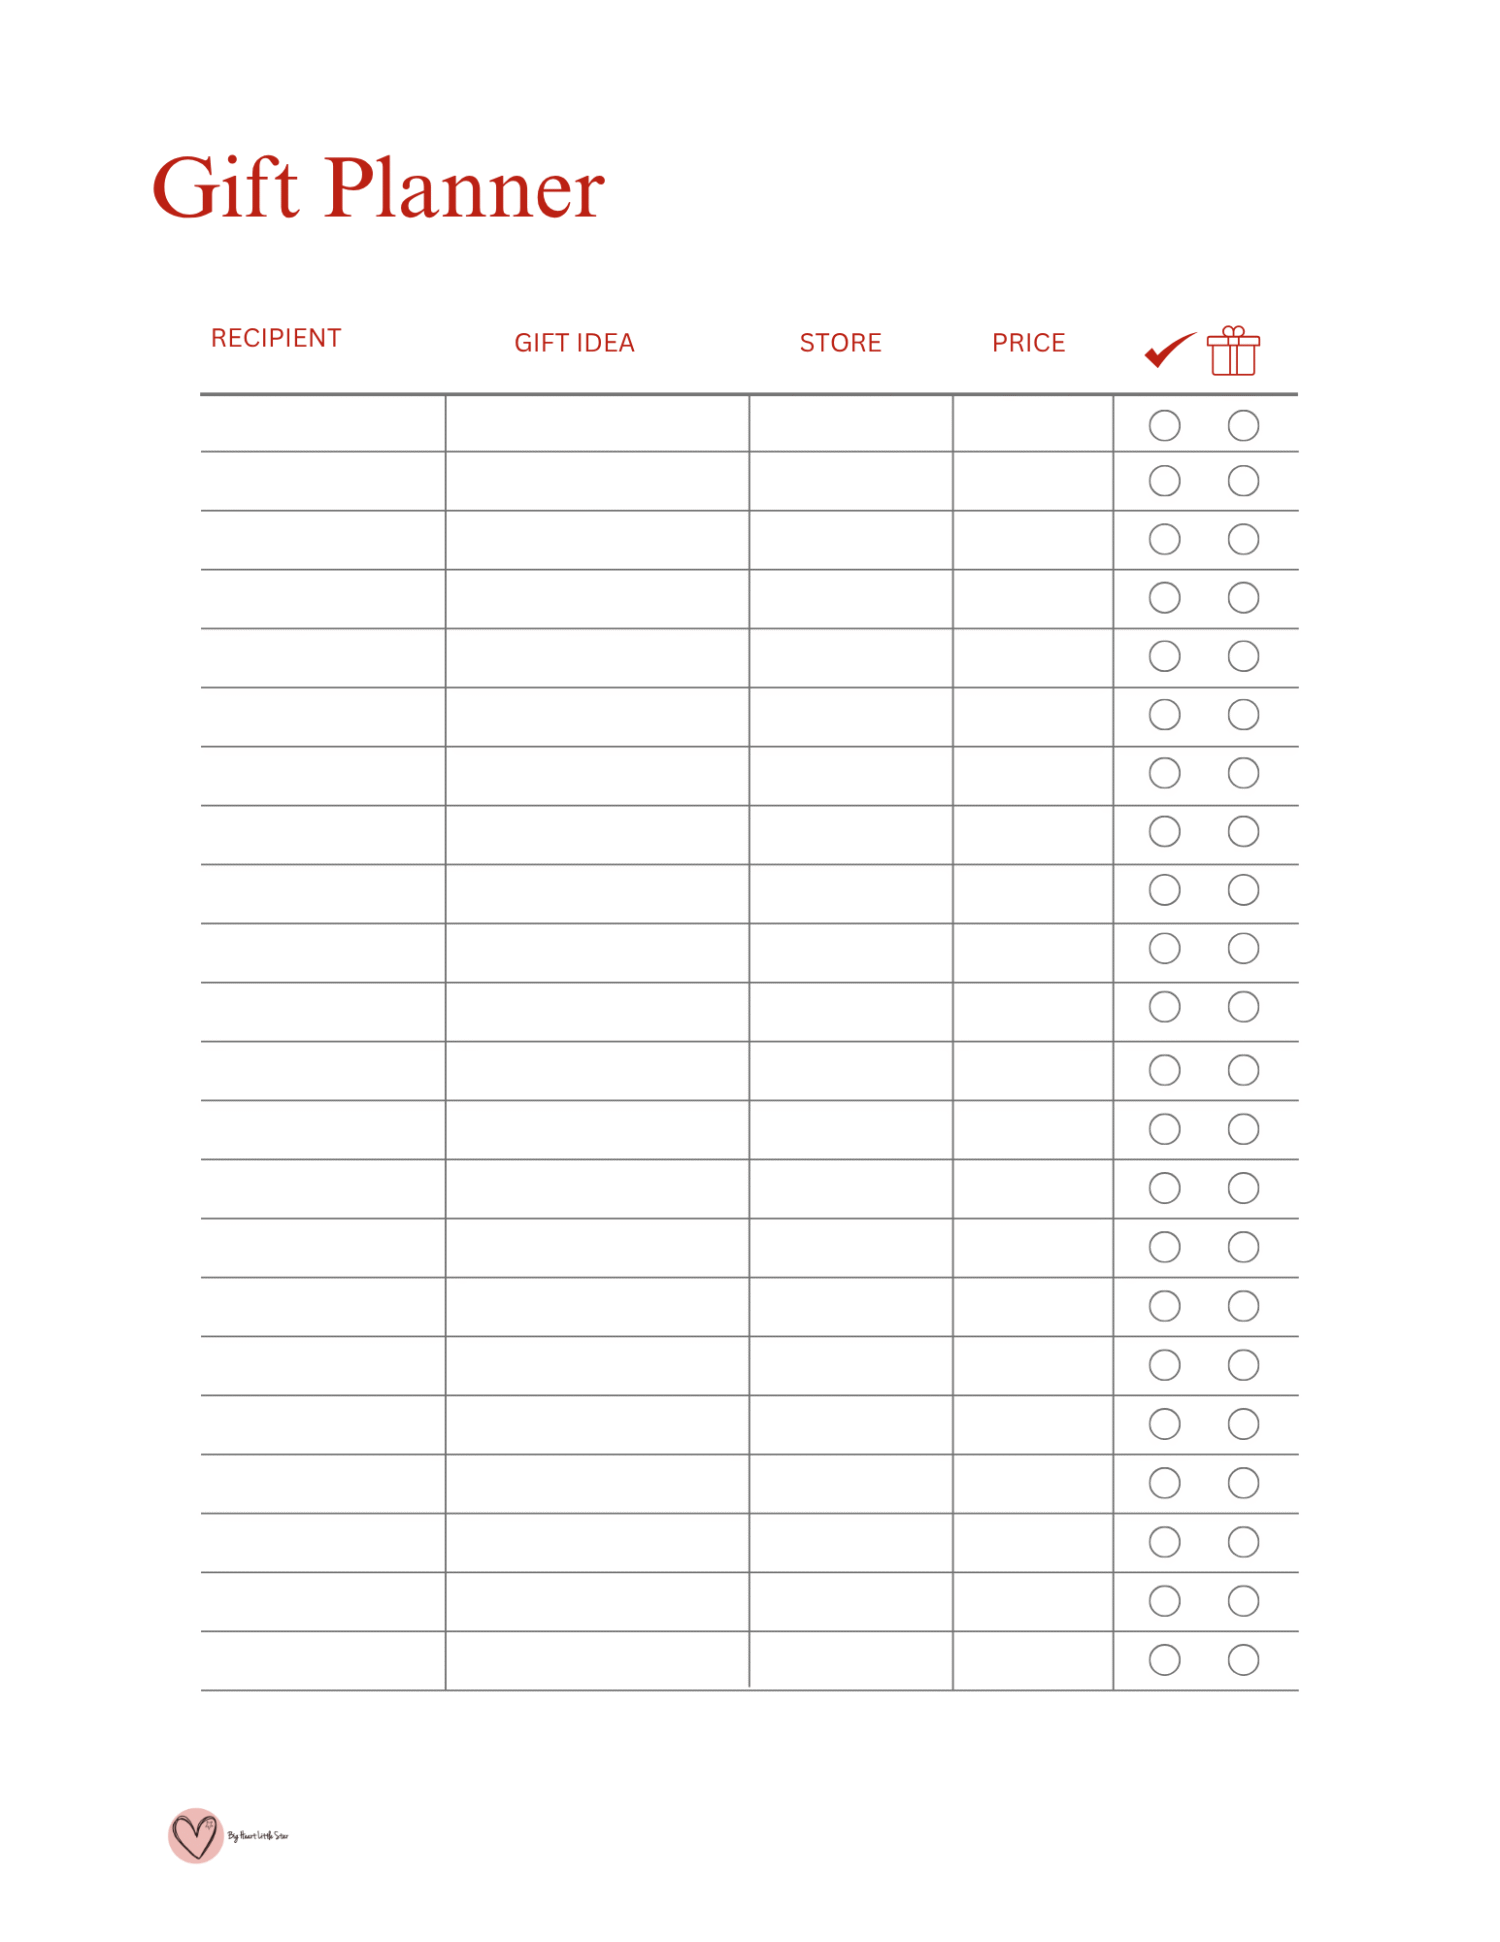
Start with who you are buying for and your spending limit. Then add gift ideas. Keeping ideas separate from confirmed purchases helps you avoid treating a possibility as something already ordered.
Illustrative example: “Aunt Maya: $30 limit; paperback and tea; $27 spent; ordered November 8; due November 12.” After delivery, add a short note such as “arrived, checked, in bedroom closet.” When you wrap it, mark that too.
Use the available space or a note sheet for details the printed tracker does not ask for. A simple pencil mark or note is enough; you do not need a separate printable for every stage.
Include a storage location for gifts tucked away from children. If several people are buying presents, agree who is responsible for each recipient before anyone orders.
5. Turn the master list into a realistic weekly plan
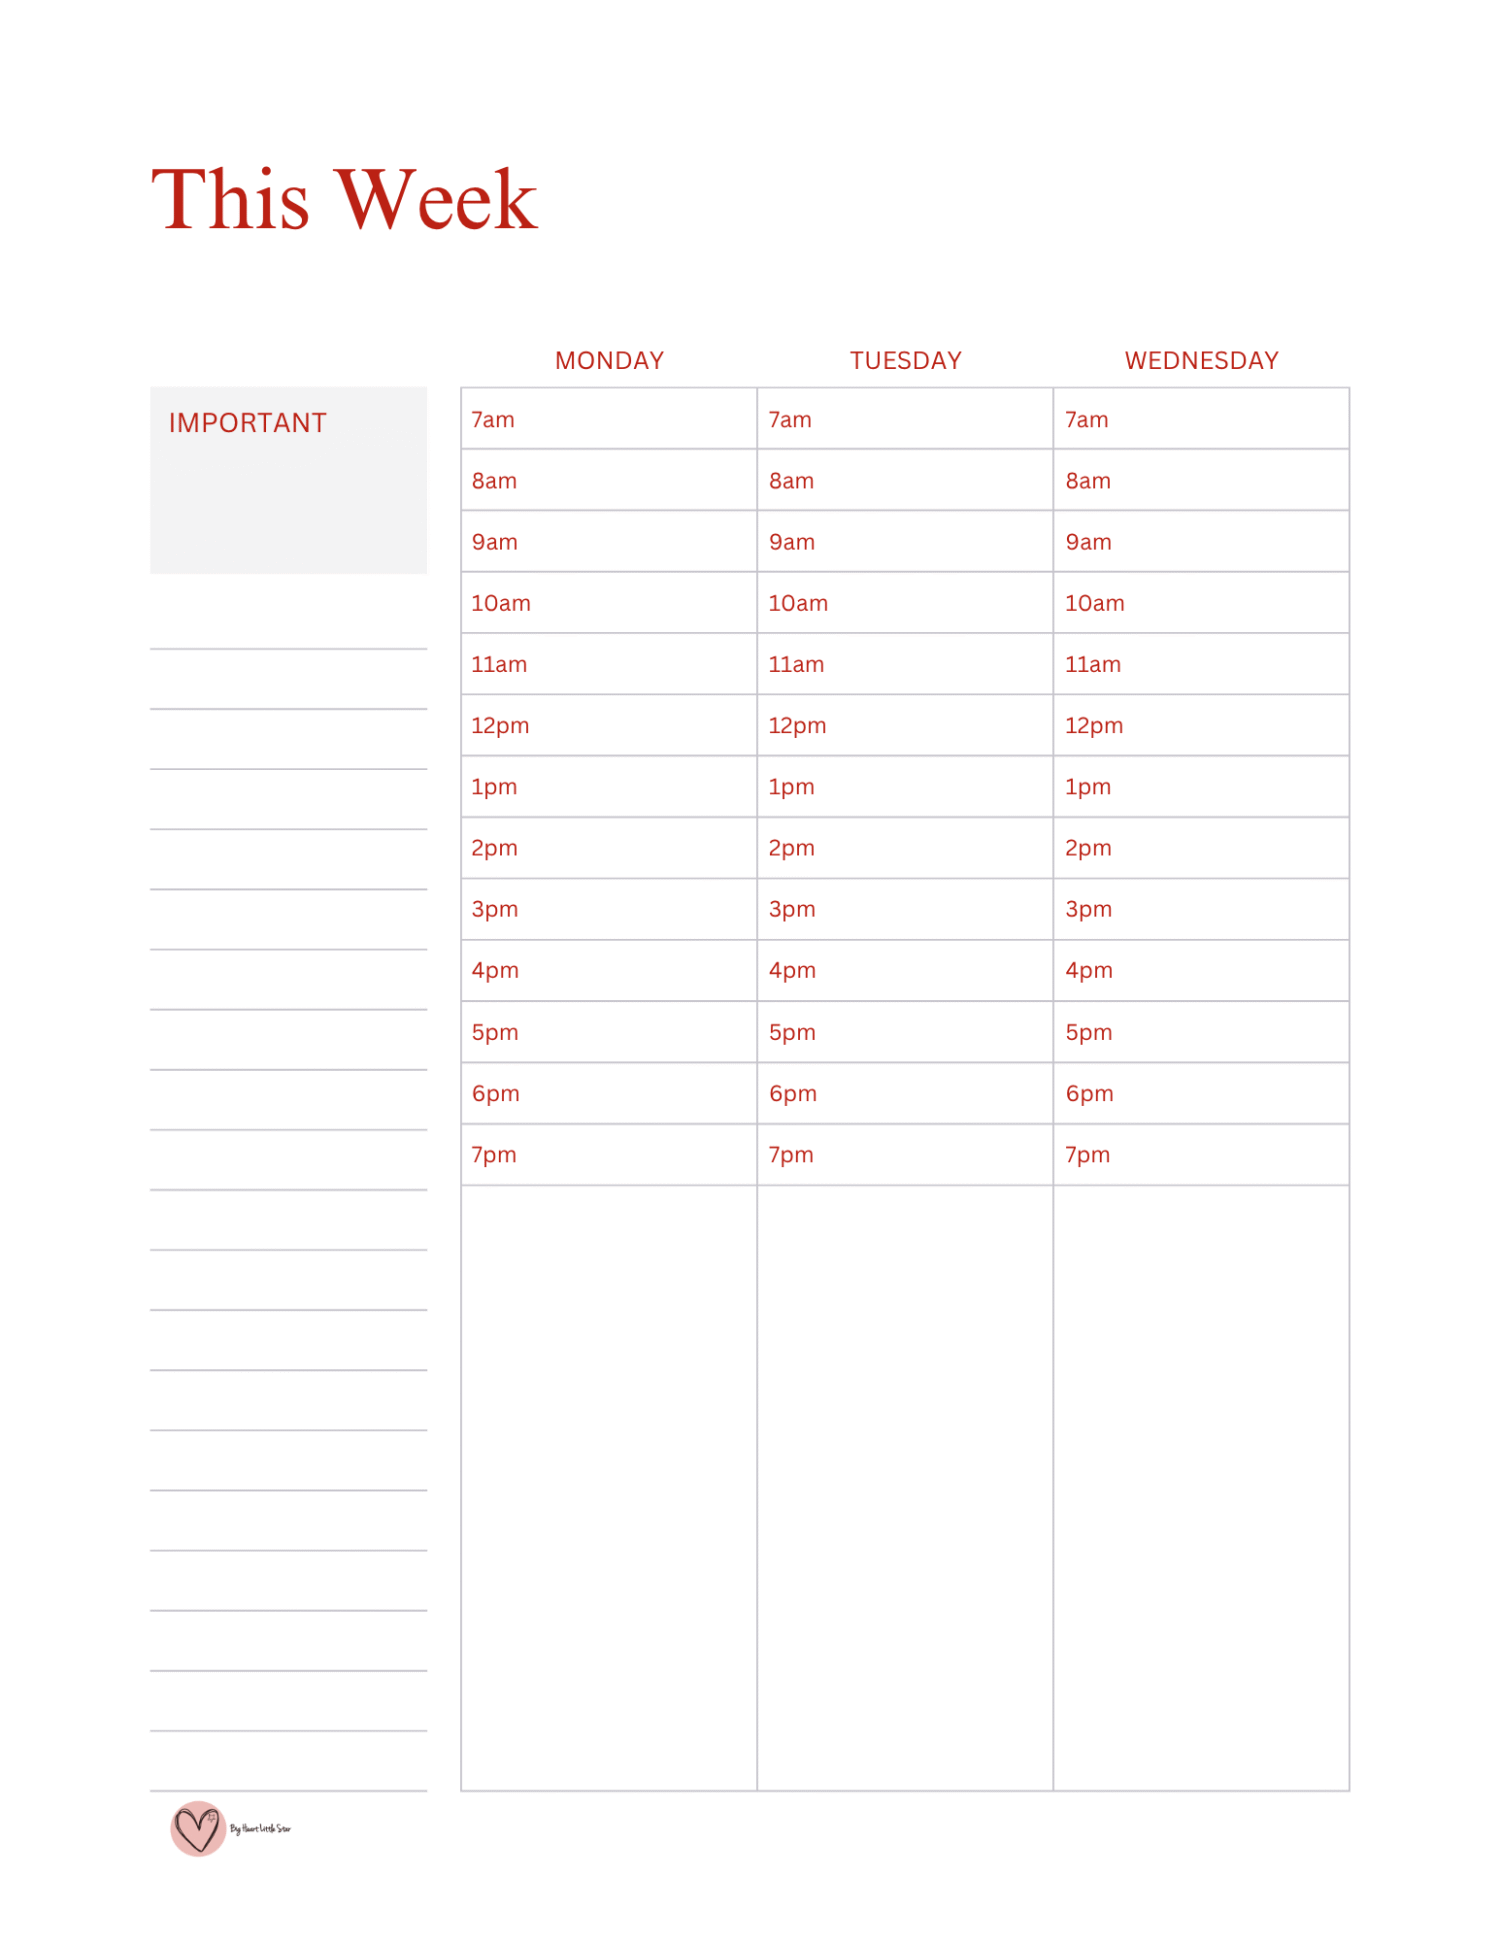
Use the master to-do list to collect jobs as they occur to you. Then transfer a small number of specific tasks to the weekly page. The master list is your reference; the weekly plan is what you are actually committing to.
Illustrative week: confirm the guest count on Monday, check the serving dishes on Wednesday and order the remaining gifts on Saturday. Add the school concert on Thursday so you can see that evening is already occupied.
Choose tasks that fit the time you have. If Saturday is full, an ambitious shopping-and-wrapping session is unlikely to happen. Move it, shorten it or share it with someone else.
For a guide to which tasks belong earlier or later in the season, use my month-by-month Christmas preparation checklist alongside your binder.
6. Keep the menu, guest list and grocery list together
Confirm who is coming and ask about dietary requirements before you settle on the food. Write the menu, check what is already in your pantry and freezer, then make the grocery list from the ingredients you still need.
If guests are bringing food, record the agreed dish and who is bringing it on the potluck planner. “Bring a side” is less useful than knowing someone has agreed to bring roasted vegetables for eight.
Add practical notes: whether a dish arrives ready to serve, needs refrigerating or requires oven time. Those details help you spot clashes before everyone turns up.
For timing, work backward from when you want to eat, using the instructions for your actual recipes. Record preparation jobs and helpers on a note sheet rather than borrowing cooking times from a sample menu.
My Christmas dinner menu ideas can help you choose what to serve. Browse the Christmas food collection for breakfast, snacks and treats to complete your plans. Keep the final decisions in your binder so everyone is working from the same plan.
7. Make the binder easy for everyone to use
Keep it somewhere visible but away from splashes and cooking heat. A shelf beside the kitchen table or a small basket in your family planning area works well.
Show the people helping you where the relevant pages live. Add names beside shared jobs and agree when they need to be finished. That makes the binder useful for the household, rather than another list only you understand.
Keep gift information out of sight if the binder is accessible to children or gift recipients. You can place those sheets in an opaque folder inside the binder, or store them separately.
8. Give it a short weekly check
Choose a regular moment, such as Sunday afternoon, to open the binder and update it. Check these four things:
- What is happening in the coming week?
- Which orders have arrived, and which still need checking?
- What have you spent since the last update?
- Which tasks need doing, moving or handing over?
Move finished weekly sheets behind the current one. Keep useful information, but remove duplicates and abandoned ideas so you do not have to sift through them every time.
After Christmas, add a note about what worked: the amount of food you needed, where the decorations are stored and any supplies to replace. Keep those reference pages for next year and print fresh trackers when you need them.
Christmas planner binder printing questions
What size are the planner pages?
The pages are US Letter size, 8.5 × 11 inches. Choose a binder and dividers that fit that paper. If you print on A4, use your printer’s fit-to-page setting and check one test sheet before printing the rest.
Should I print single-sided or double-sided?
Single-sided printing is easiest for pages you will write on often or rearrange. Double-sided printing can save paper for reference sheets you intend to keep together. Test the orientation before printing several pages.
What if the hole punch gets too close to the writing area?
Print one test page and check where the holes will fall. If they overlap the writing area, use a sheet protector or reduce the print scale slightly, checking that the smaller text remains readable.
Do I need a new cover or special dividers?
No. Write “Christmas Planner” on a plain sheet for the cover, and label ordinary dividers with the five section names. Decorate it if you enjoy doing that, but the binder is ready to use as soon as its pages are organized.
Get the free 38-page Christmas planner
Use the form below to request the complete Christmas planner PDF by email. The bundle includes planning pages for dates, gifts, spending, food, guests, decorations and family activities.
Once you have the PDF, choose your starter pages and print a test sheet. Add more pages as you need them.
For more help with your holiday preparations, browse the Christmas planning collection. For gifts, traditions and things to do together, explore all our Christmas ideas.

Hello, I’m Luci, founder of Mums Make Lists. The site is full of useful and fun ideas for life and seasonal celebrations. Plus a growing selection of instantly downloadable fun printables and party planners. Read more.