
DIY Hot Chocolate Gift Kit with Homemade Cocoa Mix
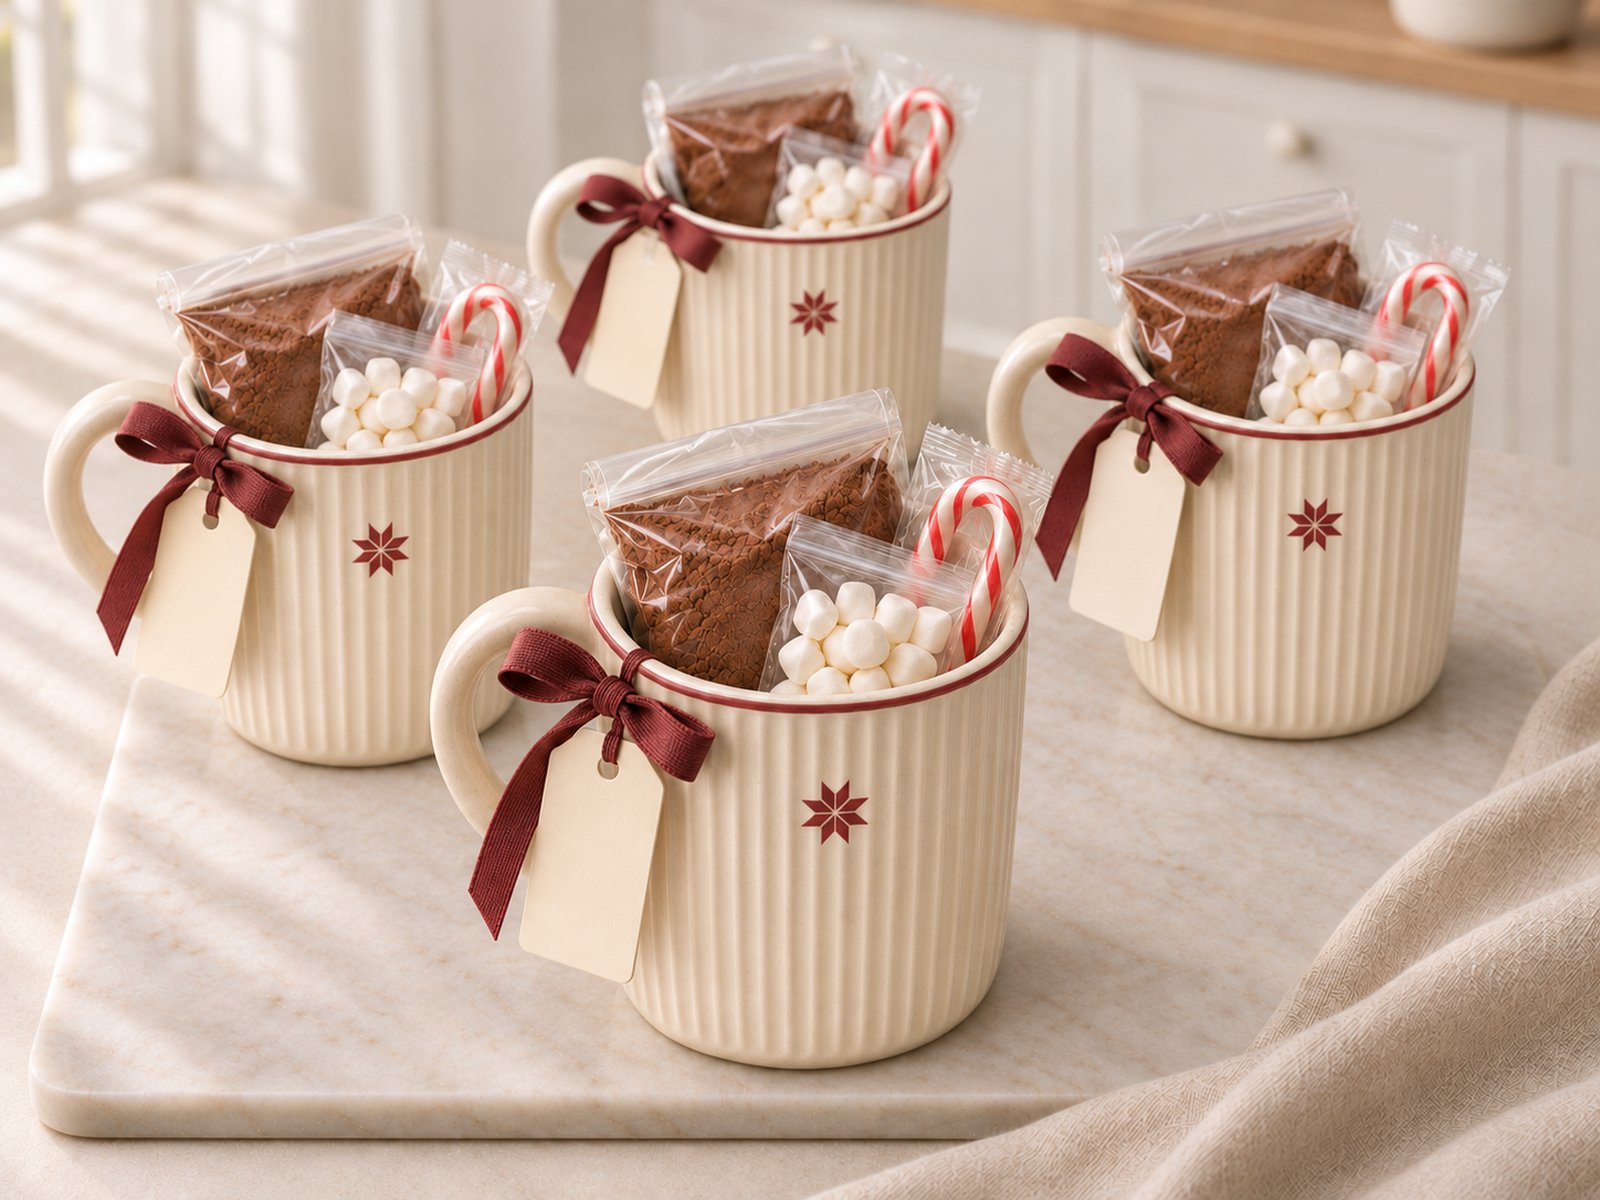
A mug, homemade cocoa mix and a couple of favorite toppings make a lovely little Christmas gift. The useful part is getting the quantities right: enough mix for two proper cups of hot chocolate, with directions that make sense when the recipient gets home.
This DIY hot chocolate gift kit includes a simple cocoa-and-sugar mix that you stir into hot milk. Make four kits from one batch, then tuck each portion into a mug with separately packaged marshmallows and a candy cane. You can use a jar or small gift box instead if the person already has plenty of mugs.
What each hot chocolate kit includes
- One sealed portion of homemade cocoa mix, enough for two 8-ounce cups of hot chocolate.
- About ¼ cup mini marshmallows, packed separately.
- One individually wrapped candy cane, optional.
- One mug with a capacity of at least 12 ounces, or a small gift box.
- A handwritten note with preparation directions and the date you packed the kit.
The milk is added when the drink is made, so it does not go into the gift. Keeping the toppings separate also means the recipient can decide how sweet or pepperminty they want their cocoa.
Homemade hot chocolate mix recipe
This post may contain affiliate links.Privacy Policy. Follow us on PINTEREST
Makes: 4 gift portions, with 2 servings in each. Preparation: about 10 minutes for the mix; allow extra time to assemble the gifts.
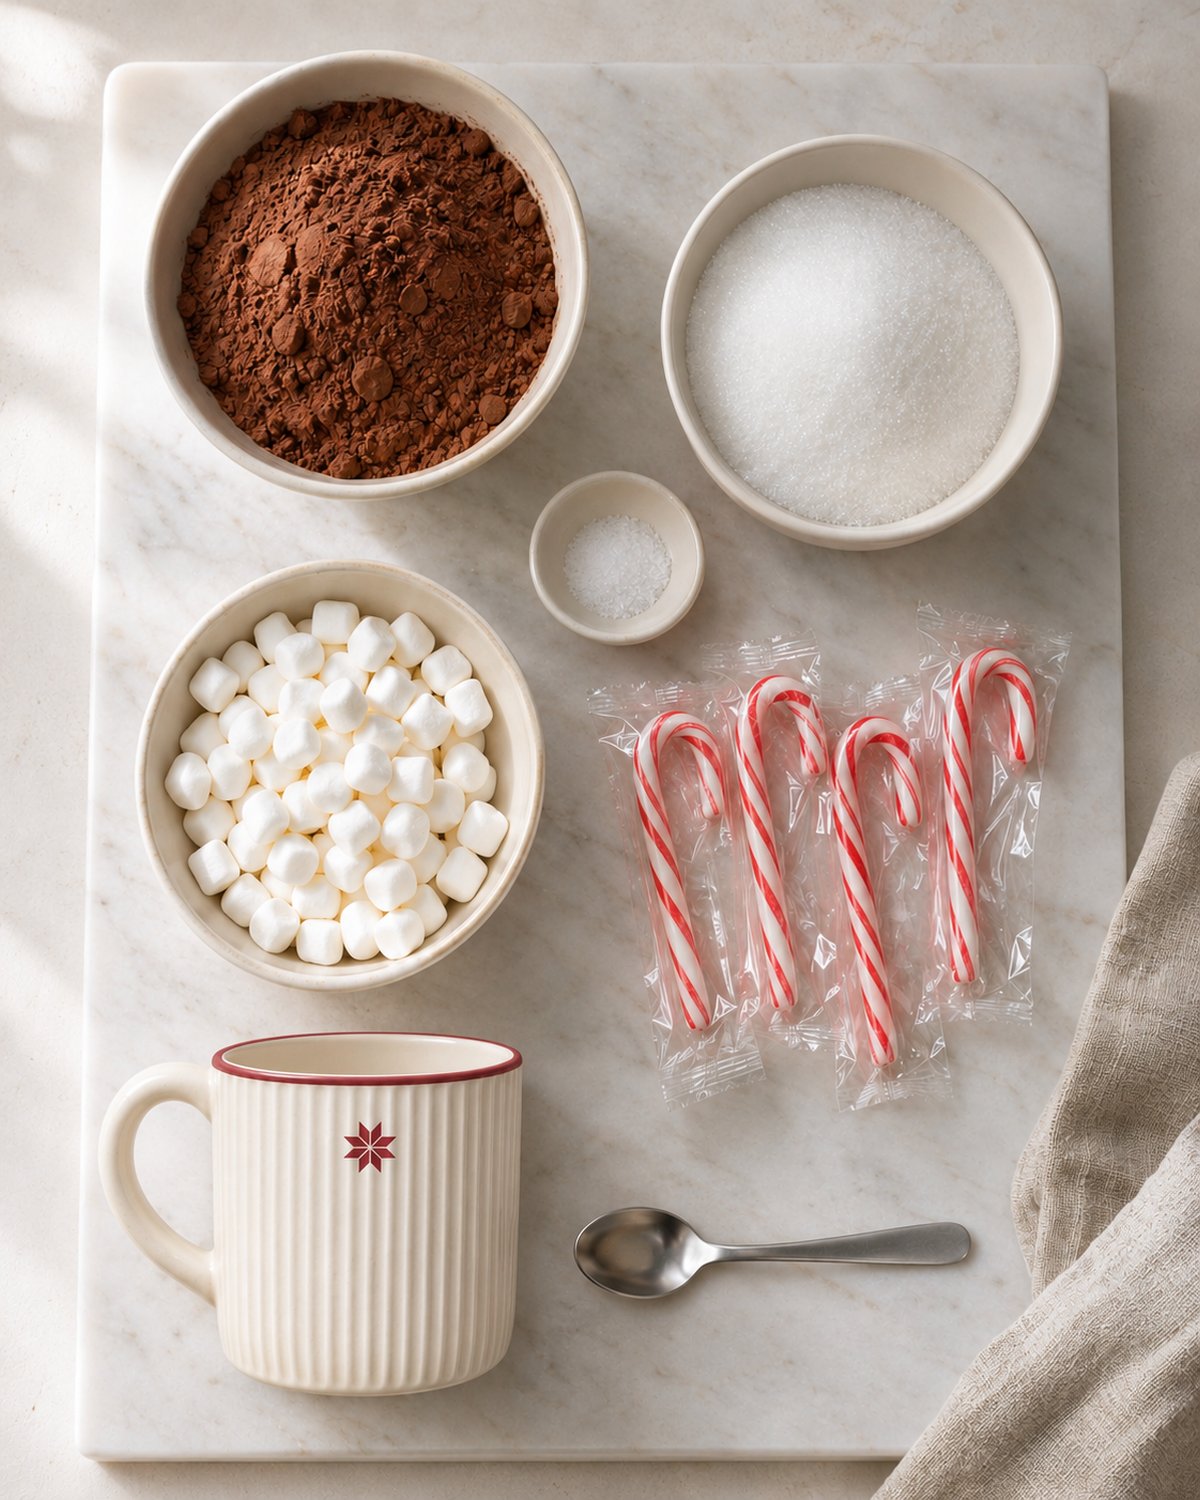
- 1 cup unsweetened cocoa powder (about 85 g), sifted if lumpy
- 1 cup granulated sugar (200 g)
- ¼ teaspoon fine salt
To prepare each serving: 1 cup milk (8 fluid ounces), plus ¼ teaspoon vanilla extract if desired. The milk and vanilla are not added to the dry mix.
Use plain unsweetened cocoa powder, rather than a sweetened drinking chocolate mix. This recipe makes a rich drink; the marshmallows and candy cane add extra sweetness, so they are best left as optional toppings.
The cocoa-to-sugar proportions are based on the richer variation of Hershey’s Hot Cocoa for One, scaled into gift portions. The dry packaging and kit assembly below are our gift project.
How to make and portion the mix
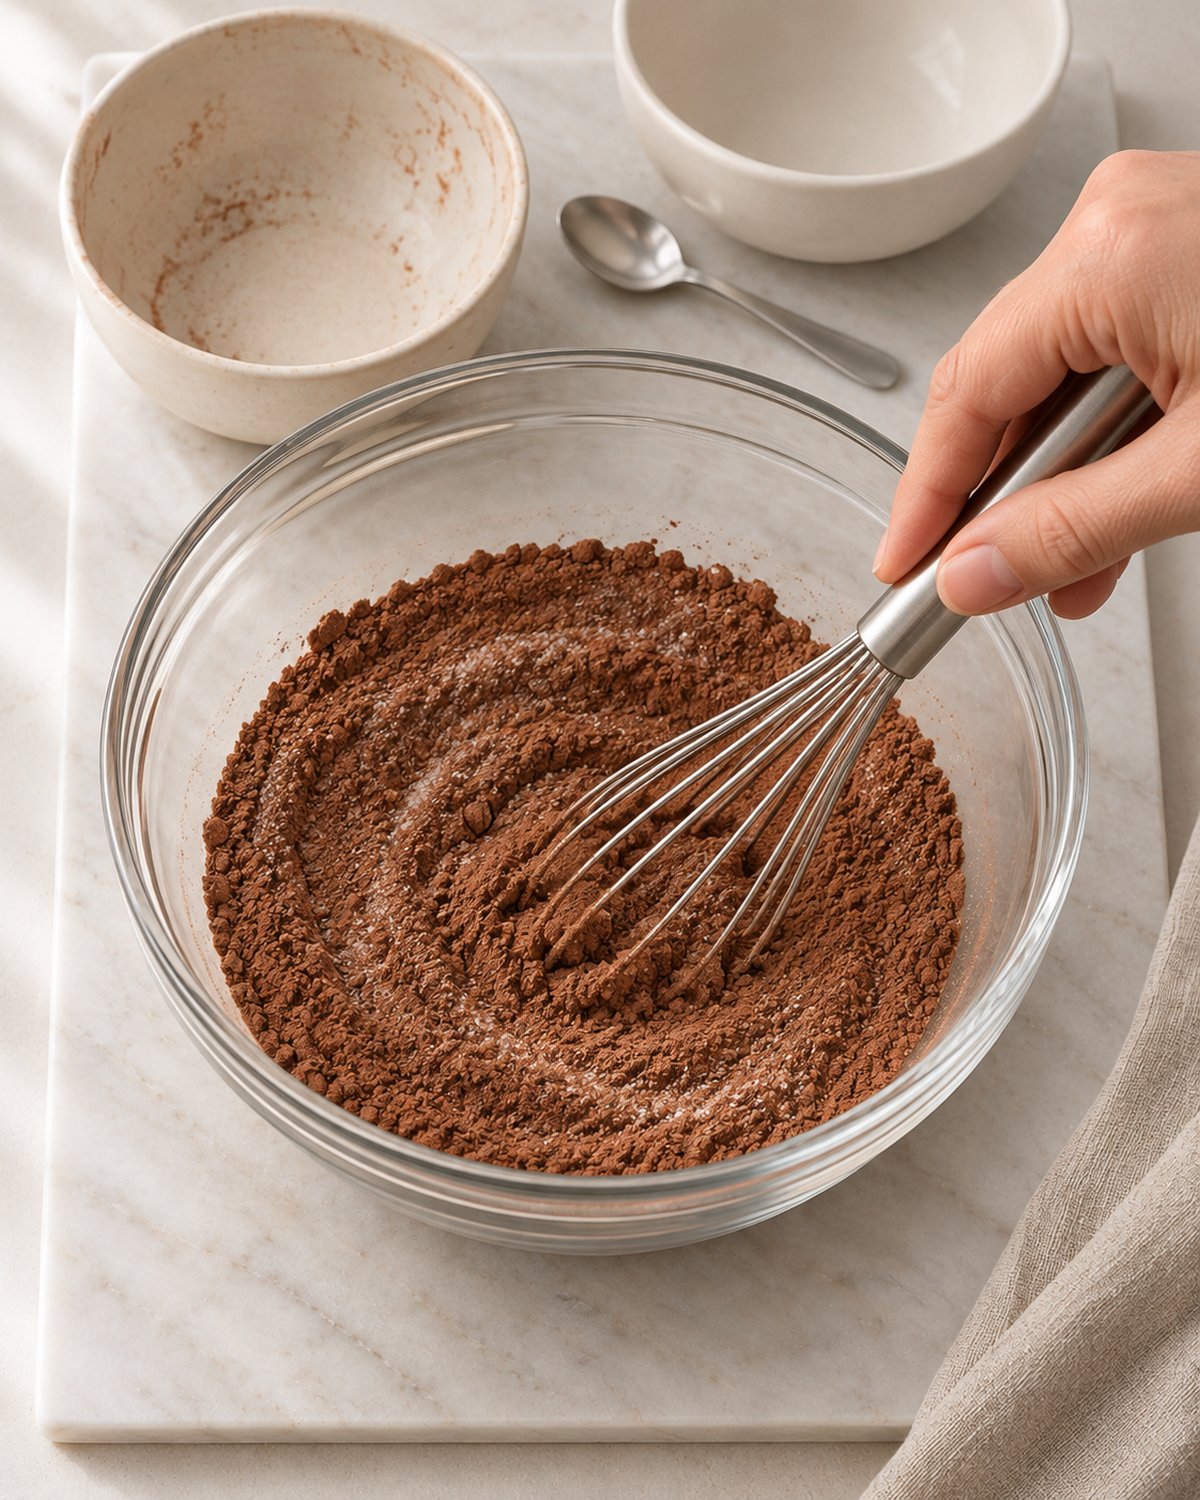
- Whisk the cocoa, sugar and salt in a large, completely dry bowl until the color is even. Break up any remaining cocoa lumps.
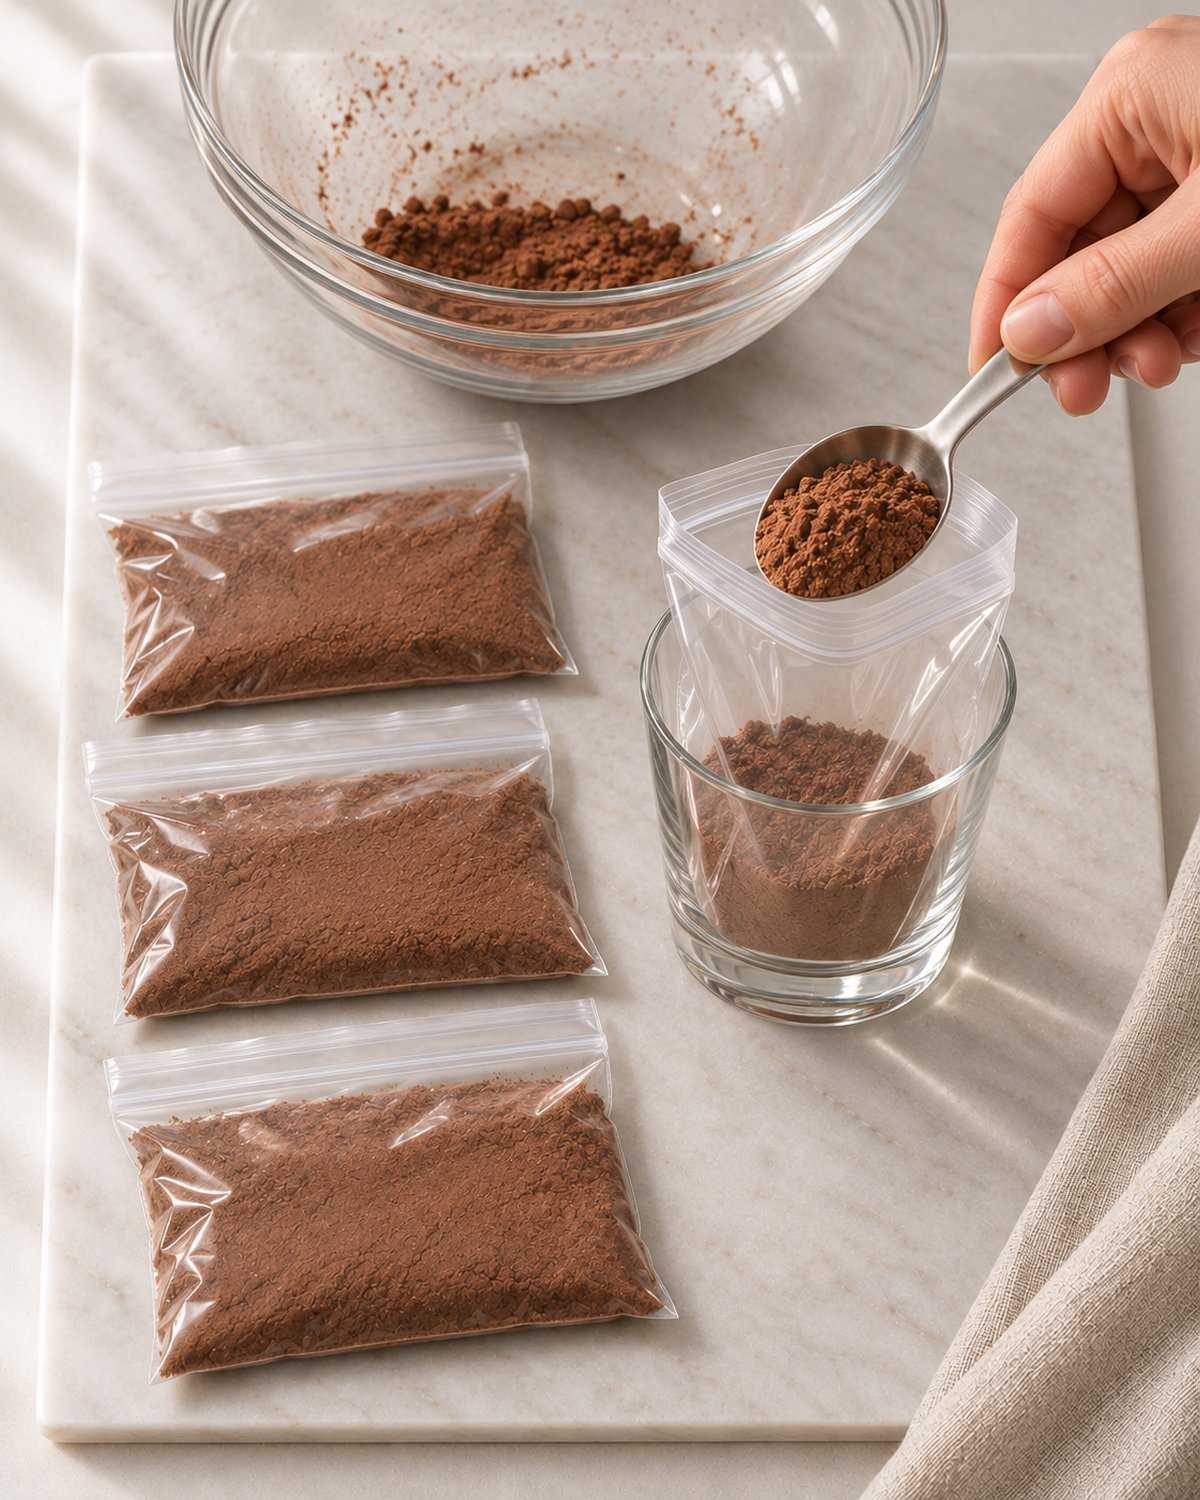
- Divide the mixture equally among four clean, dry, airtight food containers or resealable food bags. For the most even portions, weigh the finished batch and put one-quarter into each container; each portion will weigh roughly 71–72 g.
- Seal each portion promptly. Mark it as two servings, so the recipient knows to use half for one cup.
- Keep the marshmallows, candy cane and any other toppings in separate sealed packages.
Measure the ingredients with level US cups. The mix will settle as you stir and package it, so dividing the finished batch by weight is more dependable than assuming every bag will take an exact half-cup.
Supplies for four finished gifts
- 4 mugs, each at least 12 ounces, or 4 small gift boxes
- 4 airtight food bags or small jars for the mix; an 8-ounce jar gives you room to work
- 4 small food bags for the marshmallows
- 1 cup mini marshmallows in total
- 4 individually wrapped candy canes, optional
- Ribbon or twine, plain tags or small cards, and a pen
- A funnel or folded sheet of parchment paper to help fill the bags
Choose bags and containers sold for food storage. Paper gift bags and decorative boxes can hold the finished kit, but the cocoa itself needs its own sealed food container.
How to assemble the hot chocolate gift kits
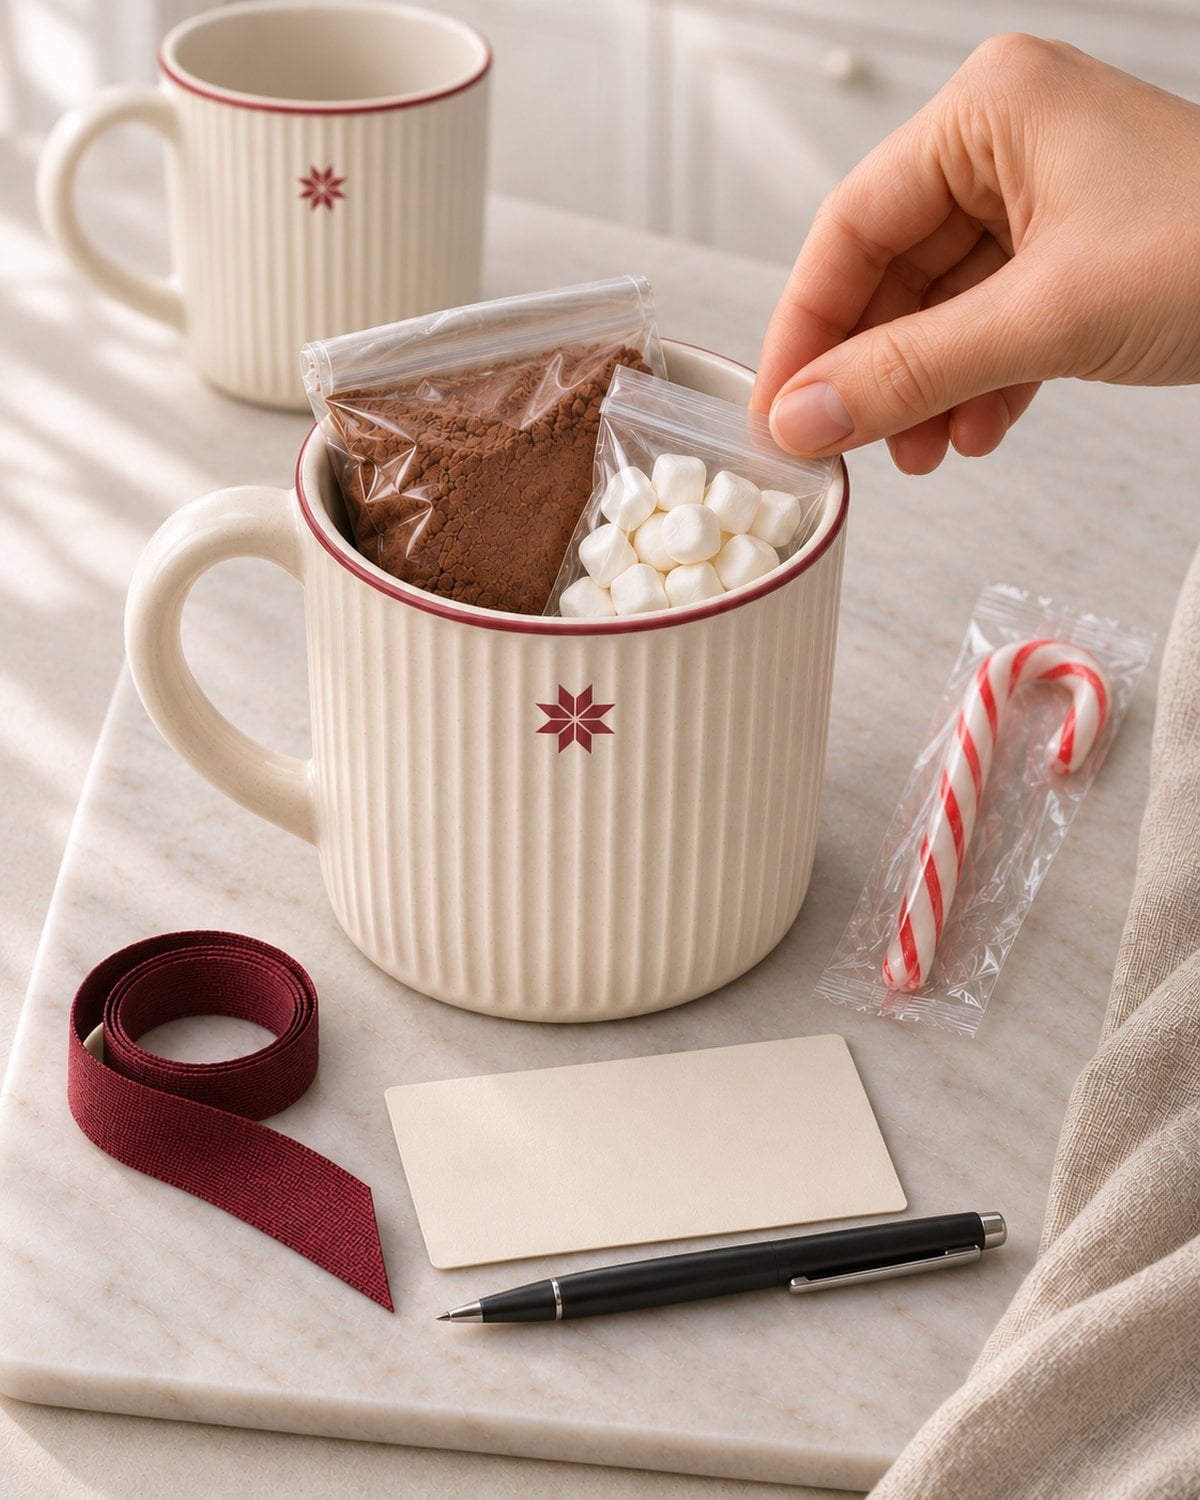
- Start with the cocoa portion. Fill and seal the inner food bag or jar before putting it into the mug. Wipe away any cocoa dust so the gift is clean to handle.
- Add the marshmallows. Measure about ¼ cup into a separate small food bag and seal it. Stand it beside the cocoa portion without pressing down on either package.
- Tuck in the candy cane. Keep its wrapper on. Skip it for anyone who prefers plain chocolate.
- Add the directions. Tie a handwritten card to the mug handle, or slip it into the box where it will be easy to find.
- Secure the gift for carrying. Place the mug in a small gift bag or box so the contents stay together. For several gifts, carry the mugs upright in a divided box.
Keep the finishing touches simple. A ribbon around the handle and a clear note are enough; the recipient needs to be able to find the mix and read how to use it.
Directions to write on the gift card
Homemade hot chocolate — makes 2 cups
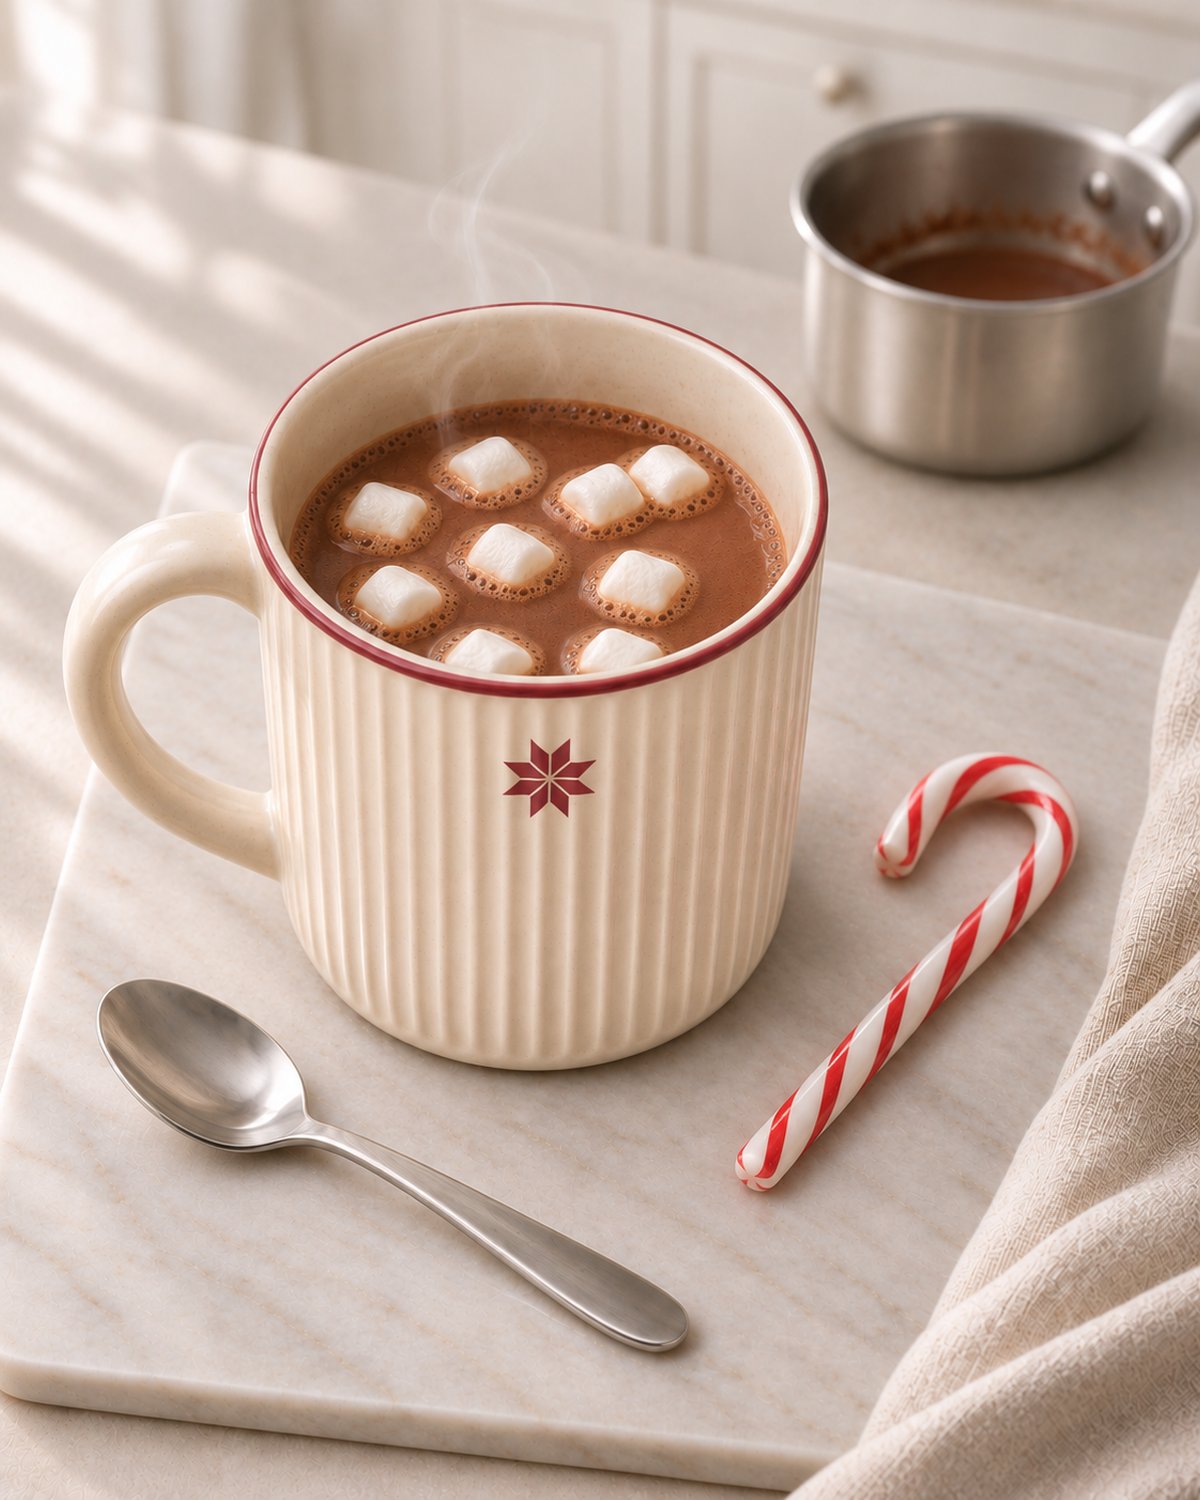
For one cup, stir or shake the sealed cocoa mix to redistribute it, then use half the package. Stir the mix with 2 tablespoons of milk to make a smooth paste. Gradually whisk in the rest of 1 cup milk (8 fluid ounces total). Warm gently in a small saucepan, stirring until hot and smooth. Add ¼ teaspoon vanilla if you like, then pour into a large mug. Finish with marshmallows or stir with the candy cane. Use the whole package with 2 cups milk for two servings.
Write the packing date on the back of the card and list the ingredients in the cocoa mix and toppings. Keep the packaging or ingredient information for the toppings available if you are giving the kit to someone with food allergies.
Making one kit or a larger batch
For one two-serving kit: mix ¼ cup unsweetened cocoa powder, ¼ cup granulated sugar and a small pinch of salt. Add ¼ cup separately bagged marshmallows and an optional wrapped candy cane.
For eight kits: double the main recipe to 2 cups cocoa powder, 2 cups sugar and ½ teaspoon salt. Divide the finished mixture evenly into eight gift portions. You will also need 2 cups mini marshmallows and eight mugs or boxes.
Before buying packaging for a whole group, fill one sample kit to check the fit. A mug’s stated capacity does not tell you how much room a sealed bag and toppings will take up.
Storage and when to assemble the gifts
Store the plain dry mix in an airtight container in a cool, dry cupboard, away from steam. Follow the storage directions and earliest best-before date on your ingredient packages. Keep marshmallows sealed separately, since they can dry out once exposed to air.
For the finished gifts, assemble them close to the day you plan to give them. Write the packing date on the note and suggest enjoying the kit within two weeks for the best texture of the toppings. This is a practical gifting window, rather than a tested shelf-life claim.
Do not add liquid vanilla, milk or fresh toppings to the stored dry mix. Once prepared with milk, the hot chocolate is a drink to enjoy straight away.
A few useful ingredient notes
Can the recipient use water? This mix contains no milk powder, so the instructions call for milk. Water will make a much thinner drink.
Can it be made dairy-free? The basic cocoa, sugar and salt mix has no added dairy, but check each product’s label. The recipient can use their preferred plant-based milk. Check the toppings too, and choose vegan marshmallows if required.
Can I add chocolate chips? You can include a small separate bag as an optional extra. Keeping them out of the main mix leaves the serving portions consistent.
For more ways to turn cocoa into a Christmas present, see our hot chocolate gift ideas. If you are making presents for a whole team, our Christmas gifts to make in bulk for coworkers includes other food gifts and simple crafts.

Hello, I’m Luci, founder of Mums Make Lists. The site is full of useful and fun ideas for life and seasonal celebrations. Plus a growing selection of instantly downloadable fun printables and party planners. Read more.