
DIY Photo Christmas Ornaments: 15 Beautiful Ways to Display Your Favorite Memories
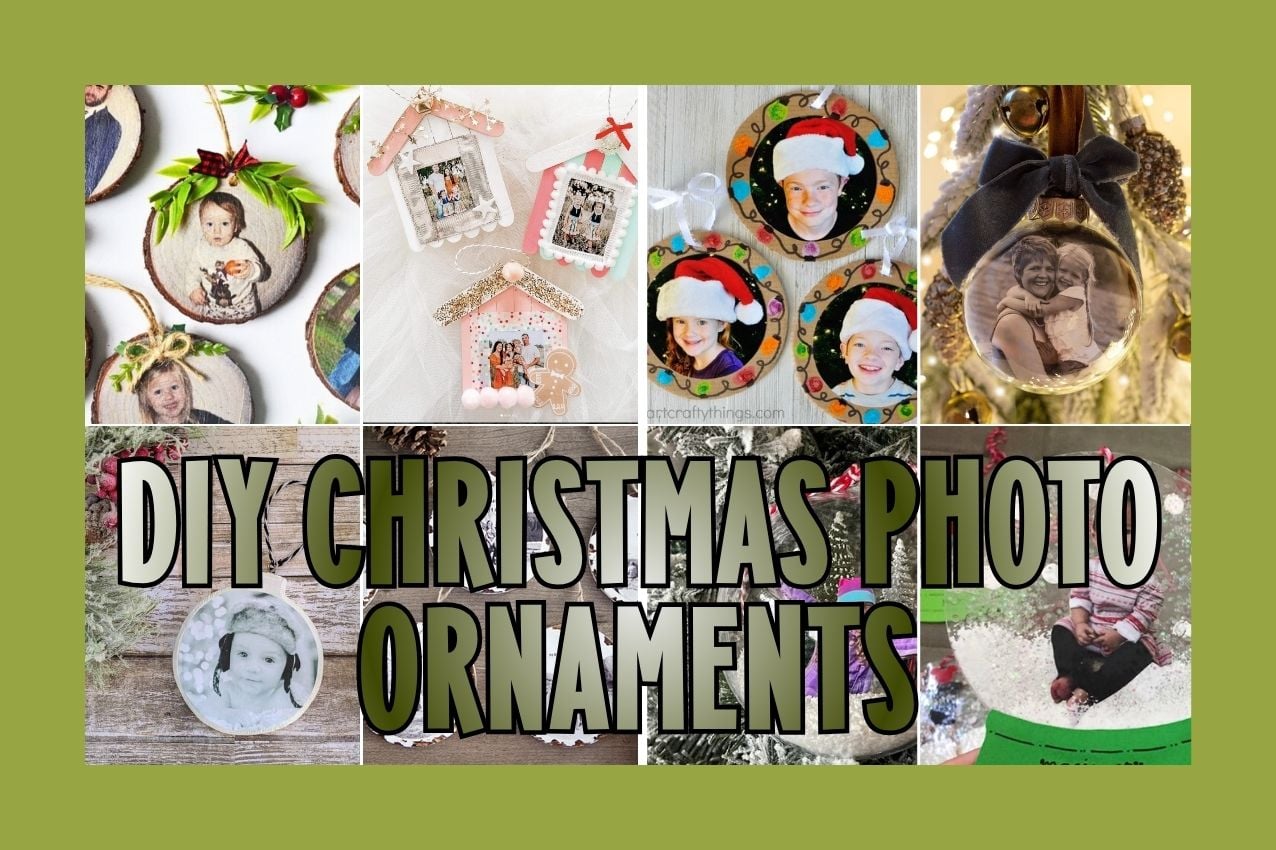

DIY Photo Christmas Ornaments: 15 Beautiful Ways to Display Your Favorite Memories
Christmas ornaments made from photos aren’t just decorations—they’re memory keepers. Every year when you hang them on your tree, they take you right back to that moment captured in time. A baby’s first Christmas. A family trip. A milestone moment. These become the ornaments you actually treasure.
The beauty of DIY photo ornaments is that they feel luxury but cost almost nothing to make. Whether you’re creating keepsakes for your own tree, making heartfelt gifts for grandparents, or preparing classroom gifts for parents, photo ornaments always feel thoughtful and personal.
What You’ll Discover In This Post:
- Photo transfer methods for every skill level
- Options for different base ornaments (wood, glass, clear, snowglobe)
- Quick projects (10-15 minute ideas)
- Techniques perfect for school photo ornaments
- Personalized gift ideas using family photos
- Step-by-step tutorials for each method
Pro Tip: The best time to make photo ornaments is right after the holidays when you’re reviewing family photos from the year. Capture the moments while they’re fresh, then have ornaments ready for next Christmas.

Rustic DIY Photo Ornaments
This is a sponsored post written by me on behalf of Canon. All opinions are 100% mine. It’s that season! Time to eat too much, give generously and celebrate all the goodness this last year has held. I know 2020 has had it’s moments that absolutely nobody would consider “good” but finding the glimpses of ... Read More about Rustic DIY Photo Ornaments

Step-by-Step Guide to Creating Homemade Snow Globe Ornaments | The Renegade Seamstress
We're about to dive nose-first into a step-by-step guide that’ll make these DIY snow globe ornaments as easy as pie. And not just any pie, I'm talking about grandma's secret recipe apple pie.

Laminated Photo Snowglobe Ornaments
DIY Snow Globe Ornaments These darling little photo snowglobe ornaments were made by Megan Hayashi! They would be perfect for parent or grandparent gifts at Christmas time. Have a whole daycare or your classroom make them! Cheap and easy ornament to make. If you don’t have a laminator try using contact paper instead!

DIY Photo Christmas Ornaments Tutorial
These DIY photo Christmas ornaments are so easy to make and are a great way to display some of your special family memories!

Snow Globe Photo Ornament
Are you looking for the perfect Keepsake Christmas gift? Maybe you’re a teacher and you want to send home something special to the student’s parents for Christmas. I love this DIY snow globe photo ornament! It reminds me of my other favorite handprint keepsake ornament, but this one has a photo. You know what else […]

Easy DIY Photo Ornaments in Under 10 Minutes
Make easy DIY photo ornaments from napkin rings in under 10 minutes! A simple, Christmas craft idea perfect for gifts, keepsakes, or your family tree.

Step By Step DIY Glass Photo Ornament Tutorial
How to Make DIY glass Photo Ornaments with this step-by-step DIY tutorial. Perfect for your Christmas tree or gifting to loved ones.

How To Make A Wood Slice Portrait Christmas Ornament
DIY wood slice photo transfer tutorial. This craft makes a great portrait Christmas ornament to hang on the Christmas tree.

DIY Wood Photo Ornament
Learn how to make these easy DIY Wood Slice ornaments for the cutest handmade Christmas gifts! Try your hand at this rustic Christmas wood craft and give the best personalized photo ornaments to your whole family!

DIY Photo Ornaments - Homey Oh My
This idea has been floating around in my head for a few Christmases now- I've been wanting to have ornaments that are personalized and sentimental. Of course all the decor and lights are major to the festive coziness of the season, but nothing matches the warm feels you get from hanging up photos of your

How to Make Easy DIY Photo Ornaments
These DIY Photo Ornaments are super quick and easy to make. They are perfect personalized ornaments for decorating your own tree or giving as a gift.
Laminated Photo Snowglobe Ornaments
DIY Snow Globe Ornaments These darling little photo snowglobe ornaments were made by Megan Hayashi! They would be perfect for parent or grandparent gifts at Christmas time. Have a whole daycare or your classroom make them! Cheap and easy ornament to make. If you don’t have a laminator try using contact paper instead!

10 Minute Photo Keepsake Ornaments
Trim the tree with these 10 minute photo keepsake ornaments. They take no time at all and it will mean so much to fill the tree with family memories.

Easy DIY Christmas Photo Ornaments
Are you looking for an easy gift for your kids to make for mom, dad or grandparents this year? We have the perfect solution!

WHY PHOTO ORNAMENTS MAKE PERFECT KEEPSAKES
This post may contain affiliate links.Privacy Policy. Follow us on PINTEREST
Deeply Personal: Every ornament tells a story. Your tree becomes a visual timeline of family memories rather than just holiday decorations.
Thoughtful Gifts: Photo ornaments are gifts that actually mean something. Parents treasure school photo ornaments from their children’s teachers. Grandparents love receiving family photo ornaments from adult children.
Easy to Make: Despite looking fancy and professional, these ornaments are surprisingly simple to create. Most take 10-30 minutes.
Affordable: When you use supplies you already have (photos, clear ornaments, mod podge, wood slices), these cost pennies to make but feel expensive.
Lasting Value: Unlike trendy decorations, photo ornaments get better with age. After years of hanging on the tree, they become cherished keepsakes that spark memories and conversations.
TIPS FOR SUCCESS WITH PHOTO ORNAMENTS
Photo Selection: Choose clear, well-lit photos. Close-ups work better than busy backgrounds. Print photos on good-quality paper for best results.
Photo Sizing: Most ornaments work best with 2×3 or 3×4 inch photos. Test fit before adhering permanently.
Sealing & Protection: If using mod podge or adhesive, consider sealing with a clear coat to protect against dust and fading.
Gifting: Photo ornaments make perfect gifts for teachers, grandparents, friends, and family. Include a small card explaining the photo or the year it was taken.
Storage: Store completed photo ornaments in a cool, dry place, wrapped individually in tissue paper to prevent damage.
FAQS
What’s the easiest photo ornament method? Clear ornaments with photos inserted inside (no adhesive needed) or snowglobe photo ornaments using lamination are the quickest.
Can you use printed photos or do they need to be special? Regular printed photos work fine. Photo paper produces slightly better results. Avoid very glossy or matte finishes that don’t adhere well.
How do photo transfer ornaments work? Wood slice ornaments typically use mod podge or photo transfer medium to adhere printed photos to wood. Some methods use image transfer paper for even better results.
Can I make these with kids? Yes! Clear ornament photo inserts and snowglobe methods are very kid-friendly. Photo transfer methods require more precision but older kids can help.
Do photo ornaments last? With proper storage, they last for years. Photos may gradually fade in direct sunlight, so store ornaments in a box between seasons.
Can I make photo ornaments with school pictures? Absolutely. School photo ornaments are especially popular as teacher gifts and parent gifts. Laminated snowglobe versions are particularly popular in classrooms.
For more seasonal projects, explore our Christmas crafts and decorations.

Hello, I’m Luci, founder of Mums Make Lists. The site is full of useful and fun ideas for life and seasonal celebrations. Plus a growing selection of instantly downloadable fun printables and party planners. Read more.